Scratchpad For Images

Version 1.0

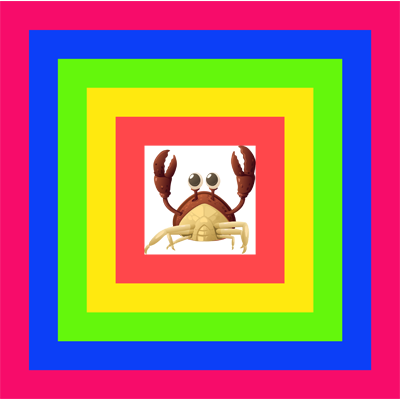
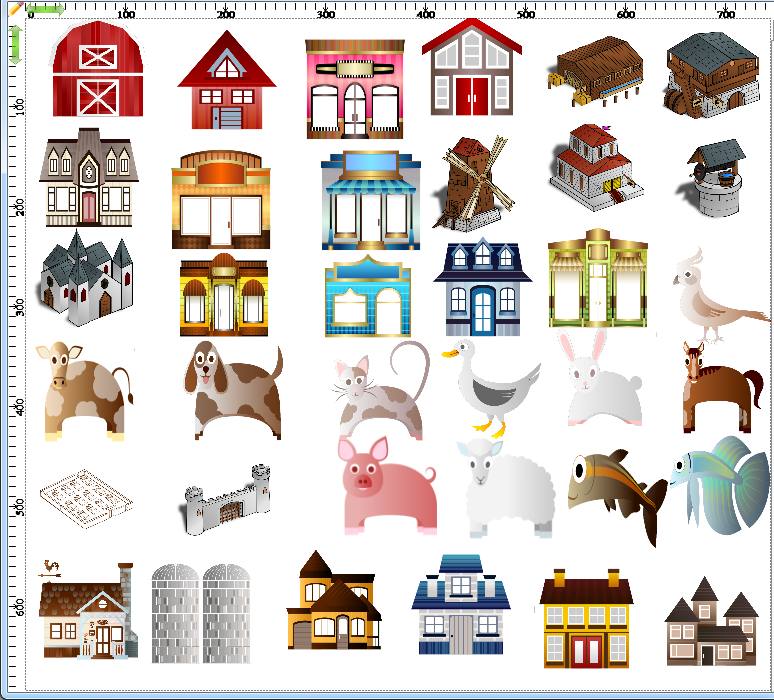
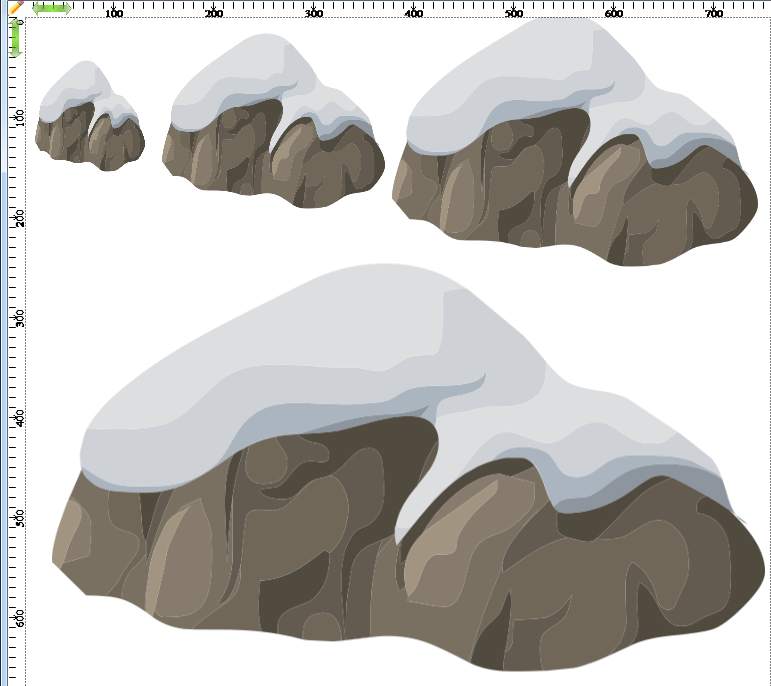
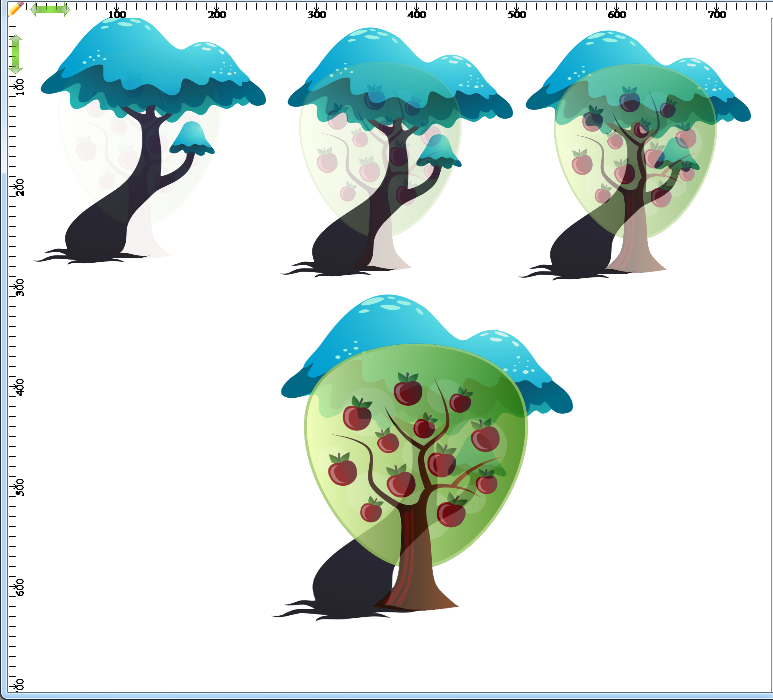
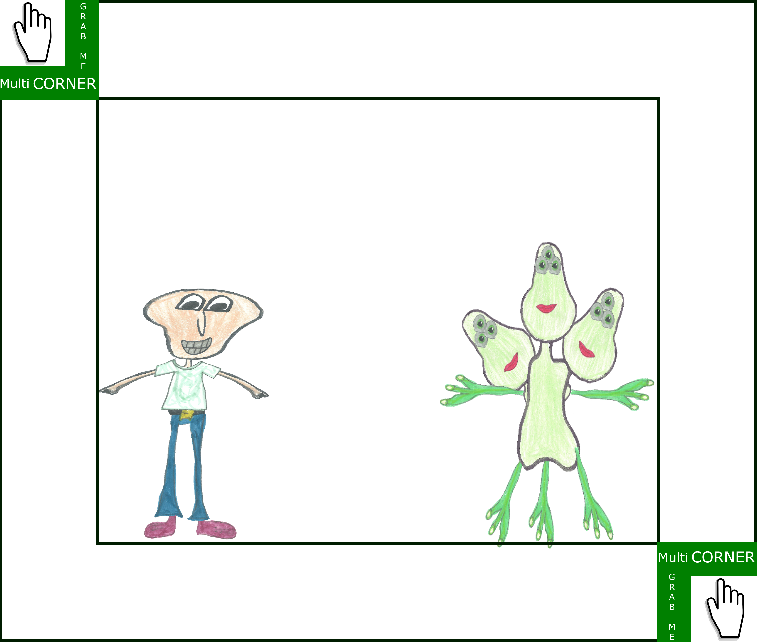
Scratchpad For Images is a program which allows you to quickly and easily create more detailed images made of other images. The program was designed to allow rapid manipulation of images. It does this in a variety of ways and you can even use text associated to images.

The canvas size can be adjusted easily giving a lot of space for your detailed image. Because it allows fast and easy manipulation of images, it can also be used as a tool to quickly create initial designs for projects of any kind including software applications and websites. The entire canvas containing the images can be saved as an XML file or as a PNG image to preserve transparency.

Main Application Window for Scratchpad For Images


Here is what you can do with Scratchpad For Images:
The program was designed to allow rapid manipulation of images.

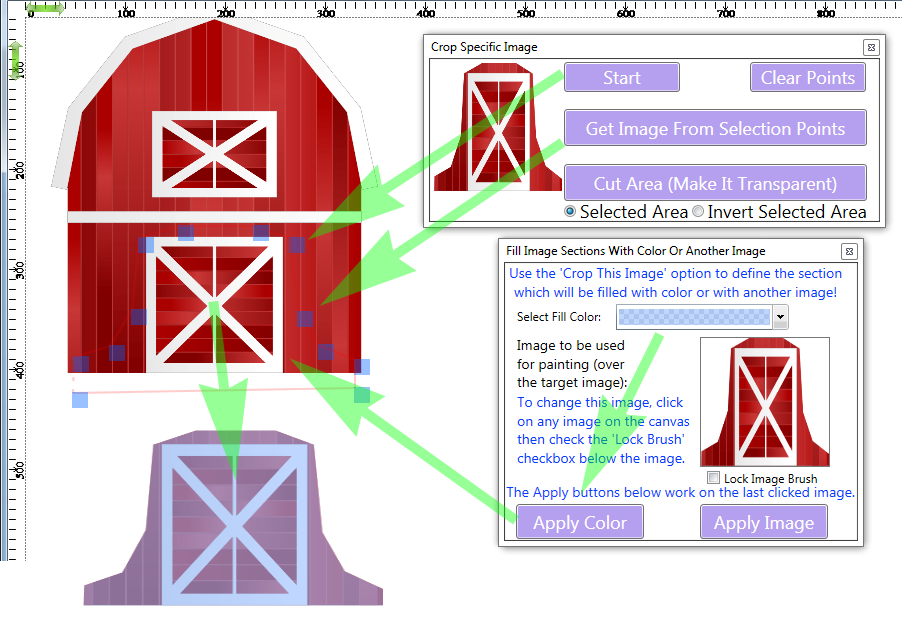
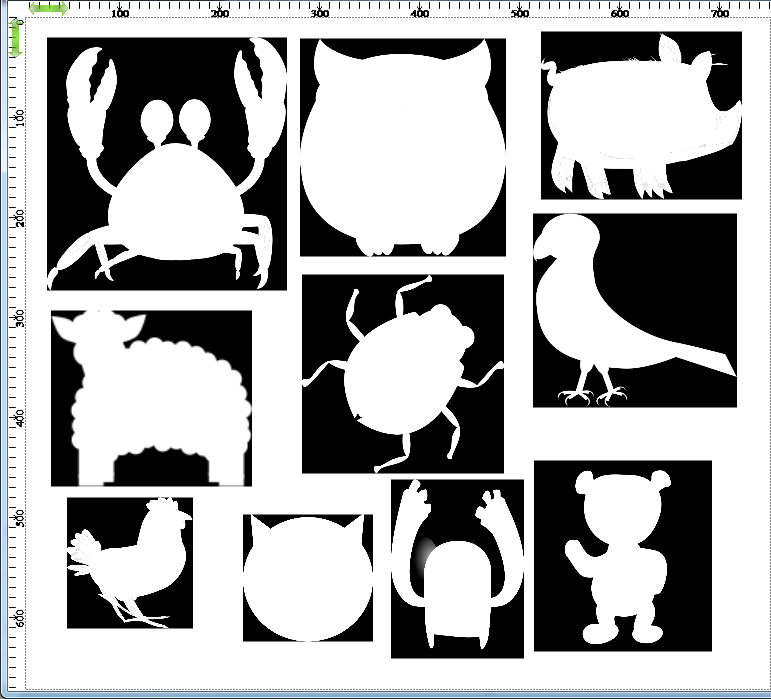
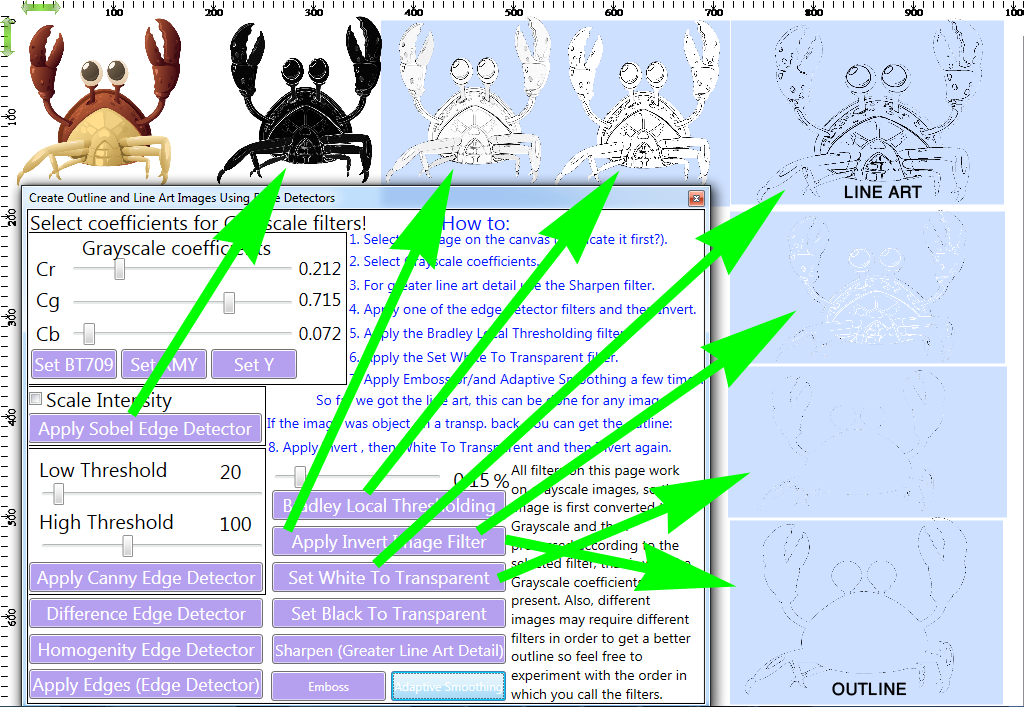
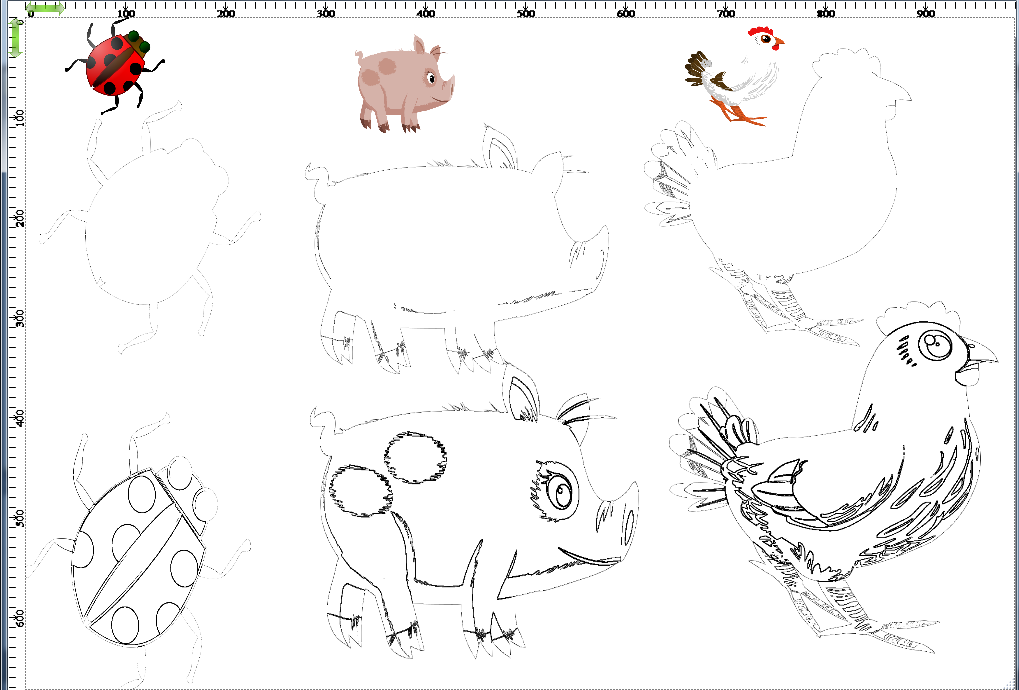
Create more detailed images quickly and easily.

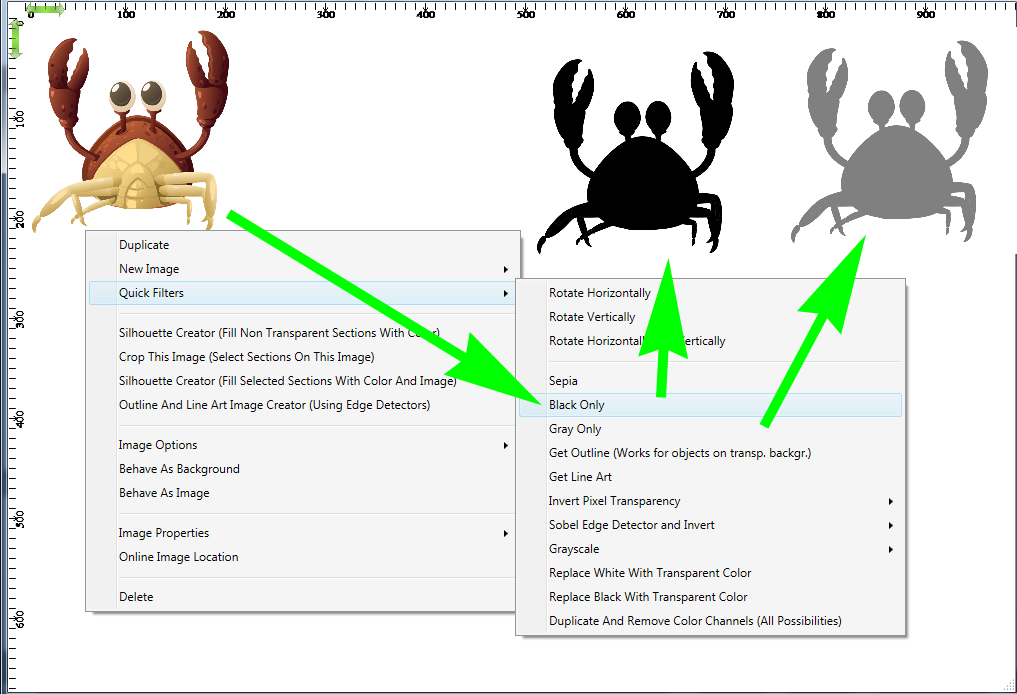
Create silhouette, outline and line art images in some cases with just two clicks.

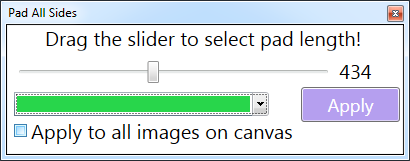
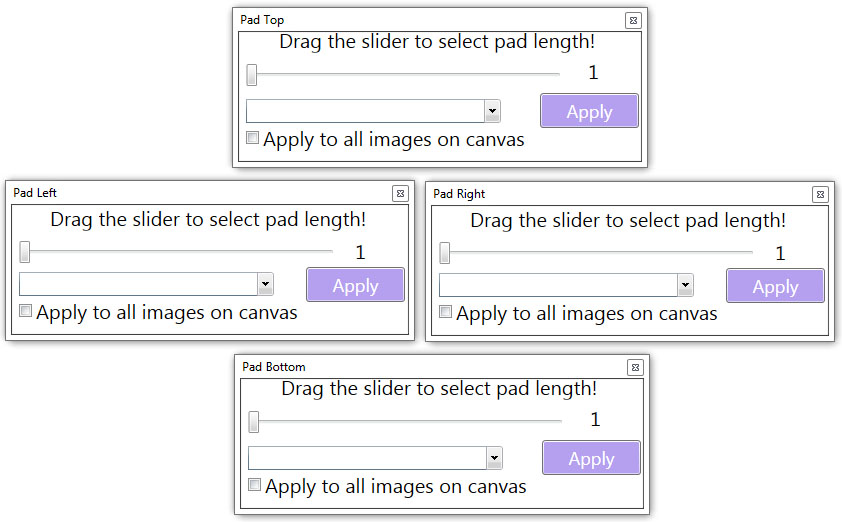
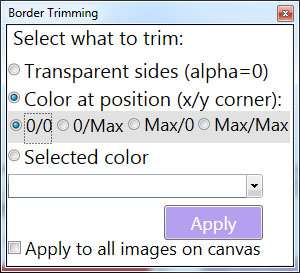
Easily remove borders from images or add borders to images.

As a tool to quickly create initial designs for projects of any kind including software applications and websites.

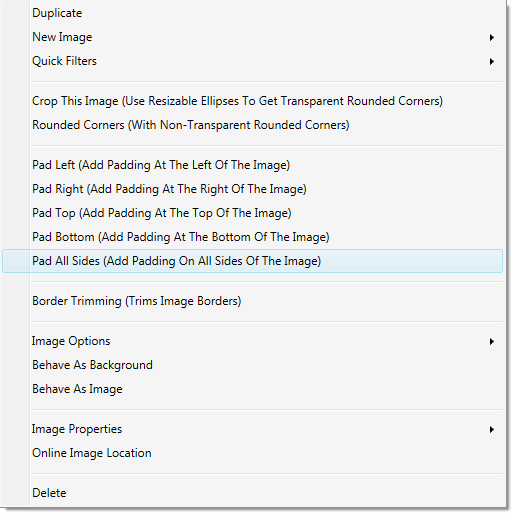
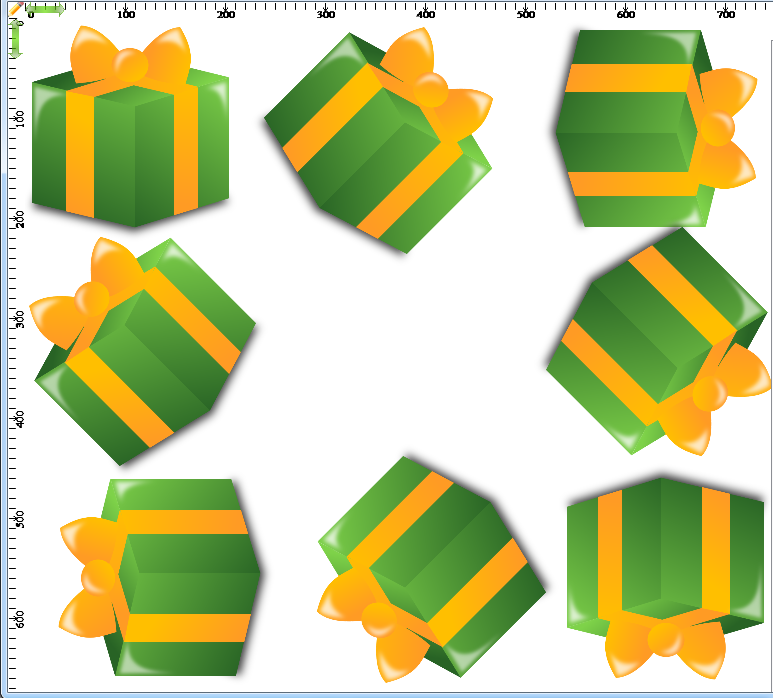
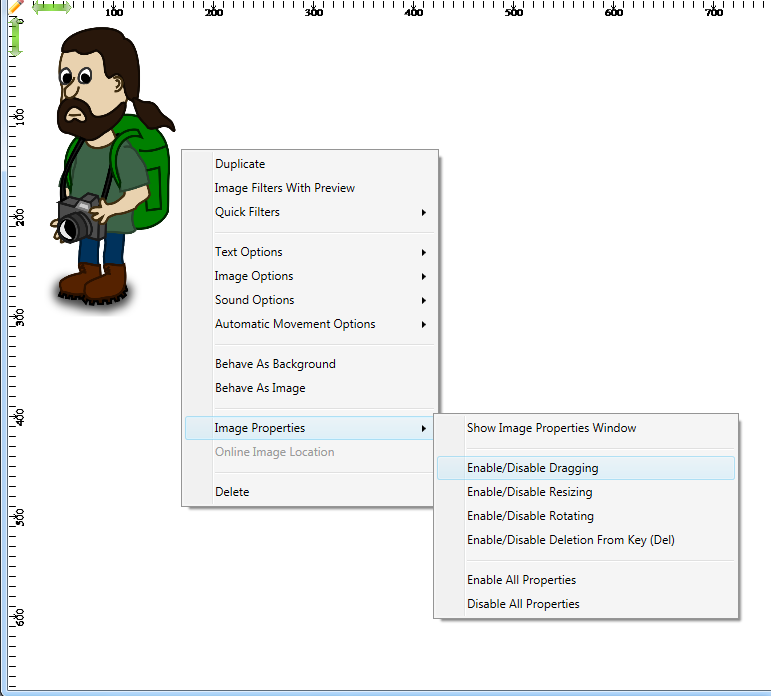
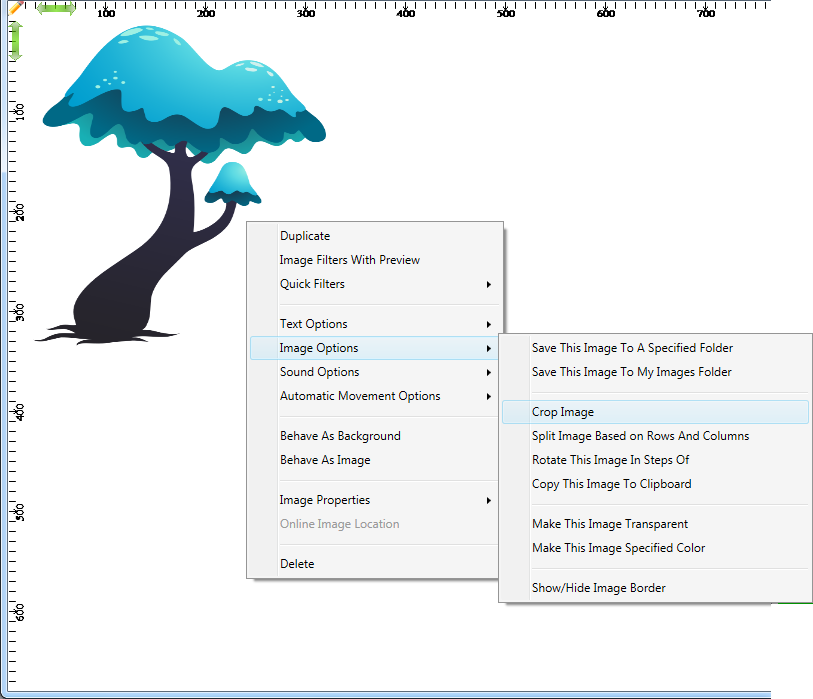
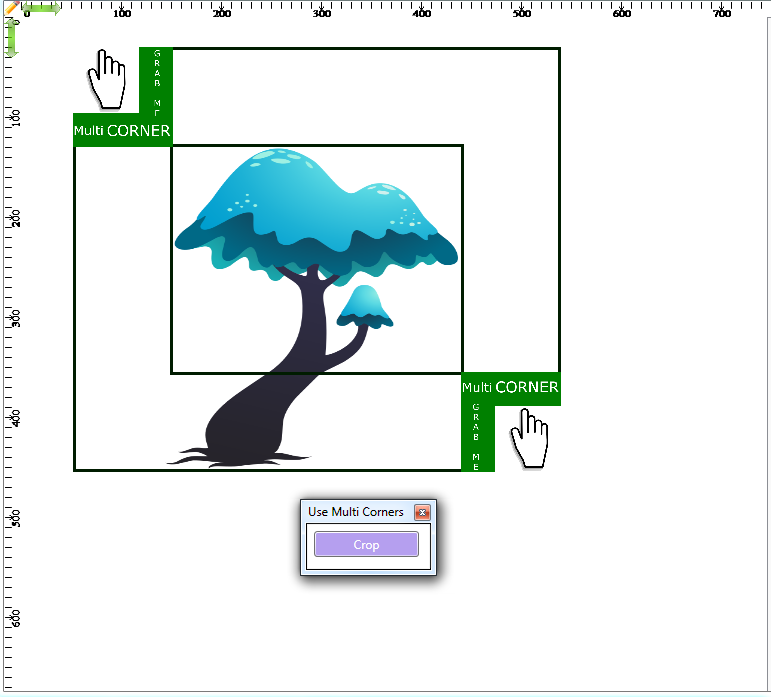
Rotate, resize, duplicate, drag, crop images.

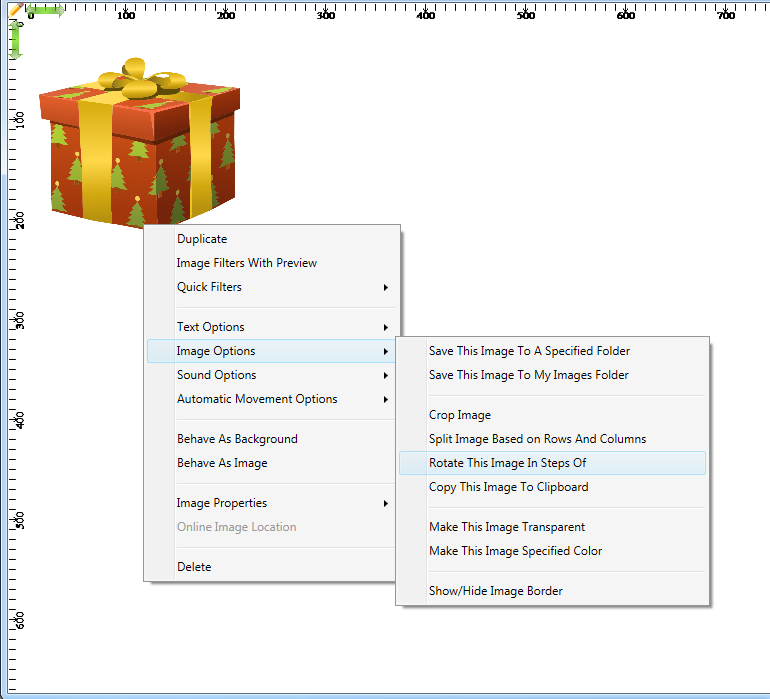
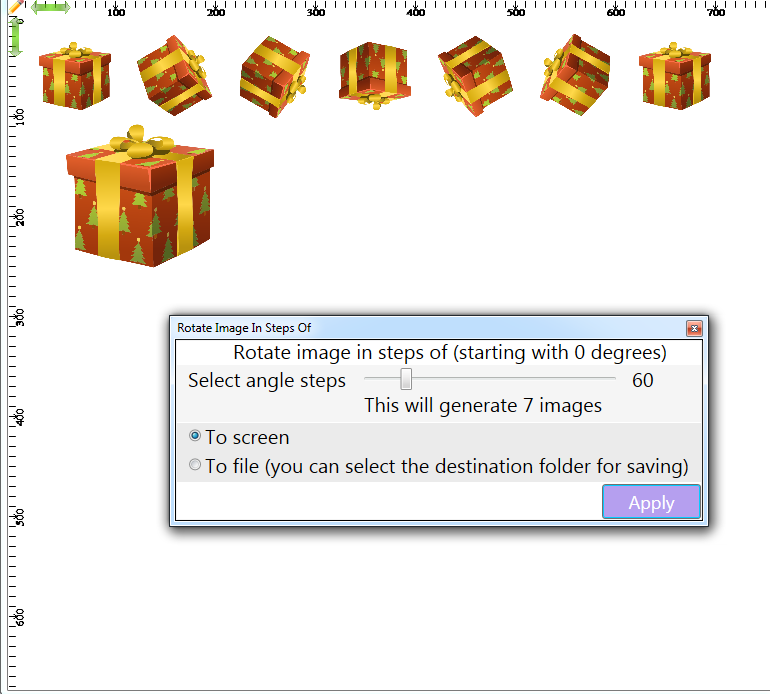
Rotate images in steps of (selected degrees).

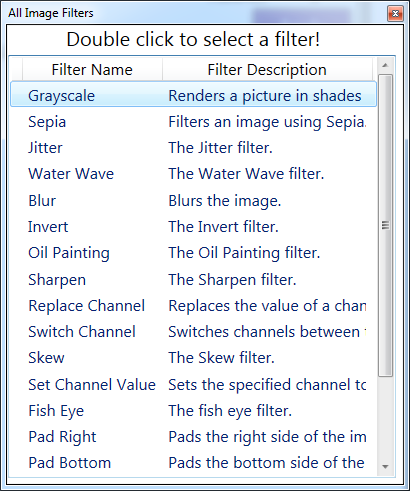
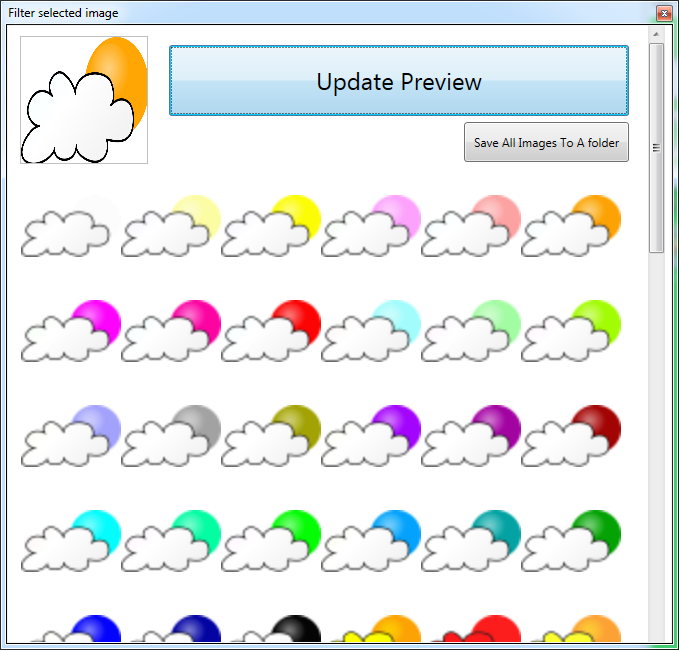
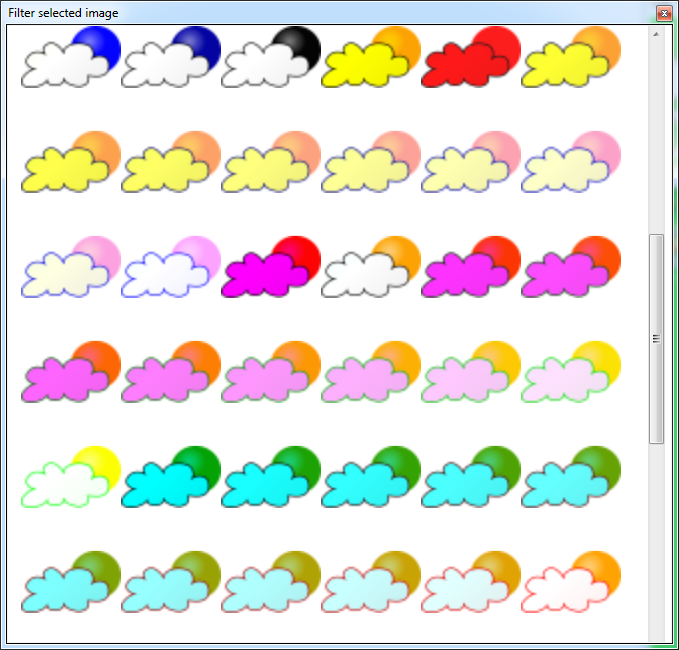
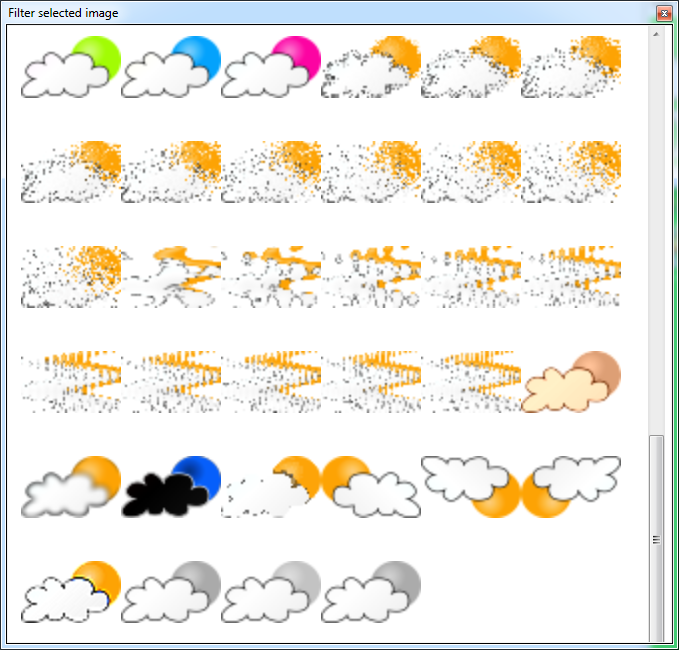
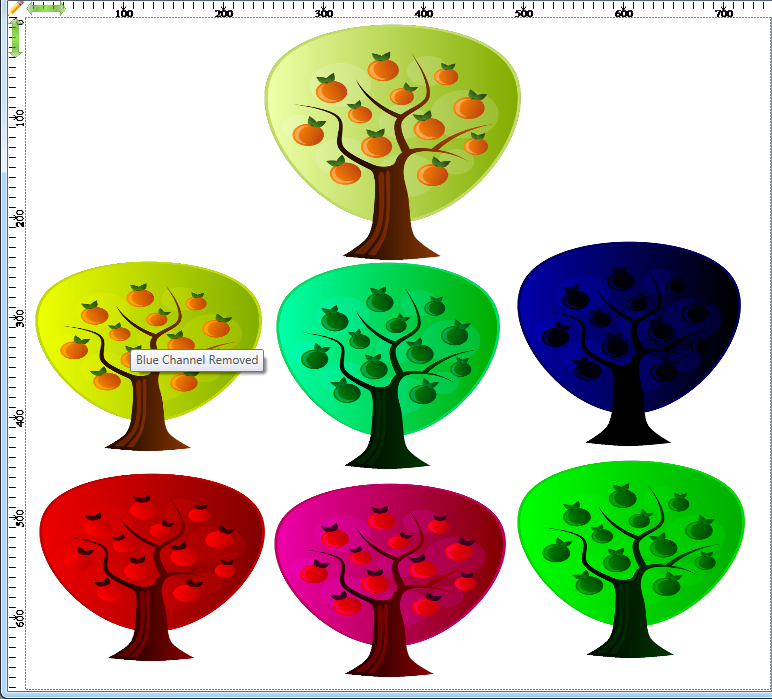
Filter images using existing and default filters.

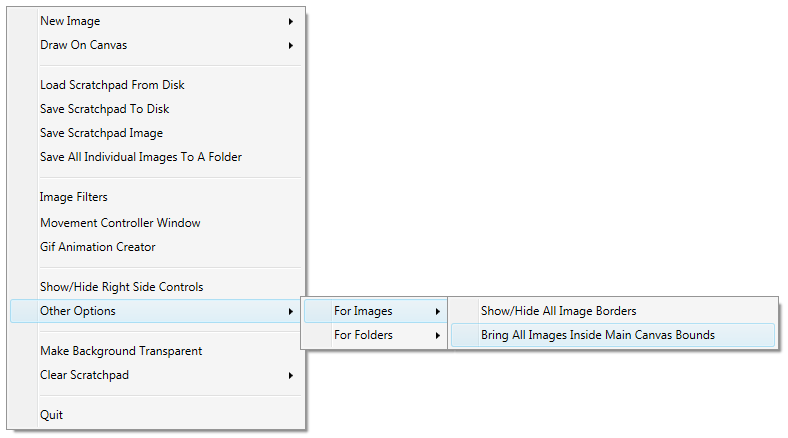
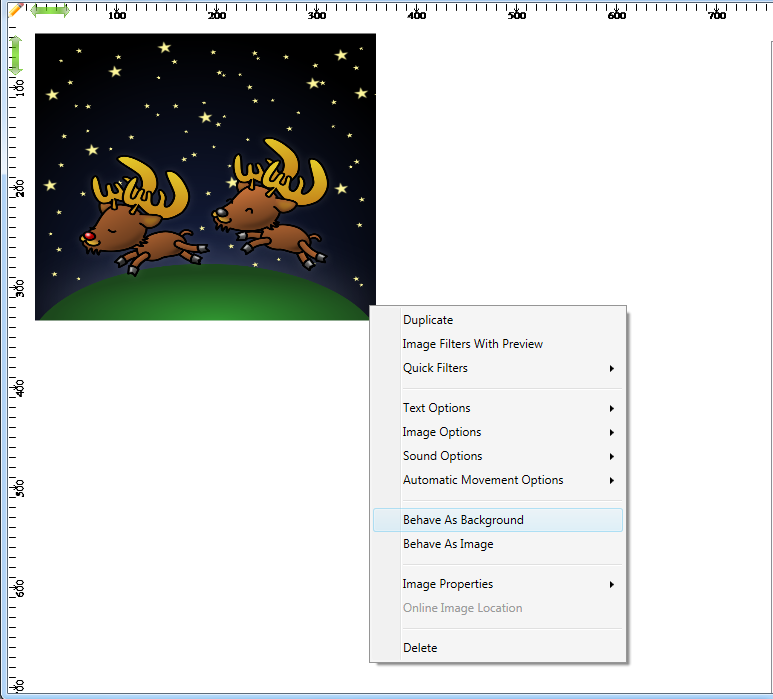
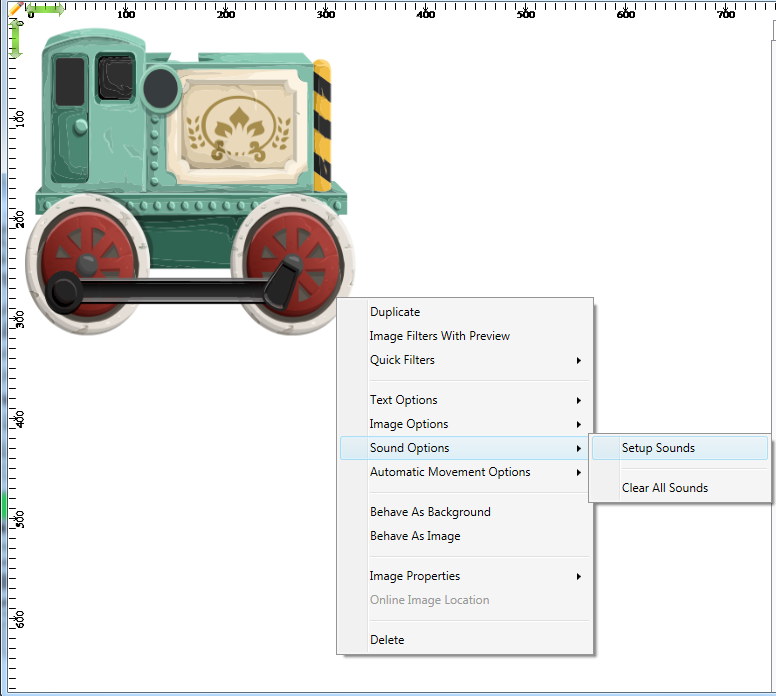
Make an image behave as a background or as a foreground, this way you can put images one on top of the other in the order you like.

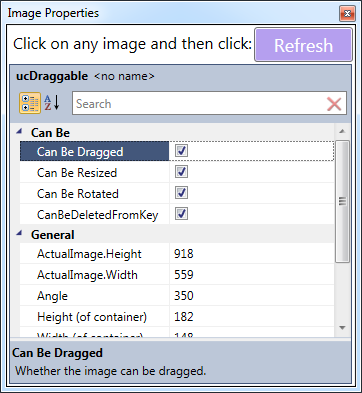
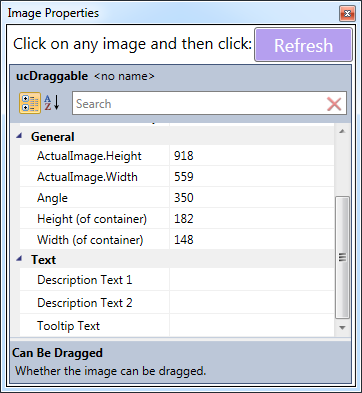
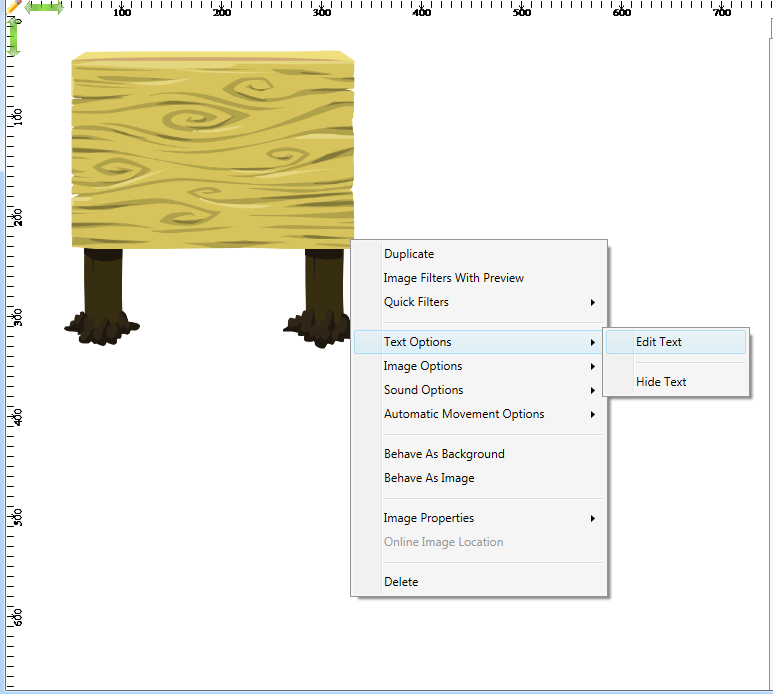
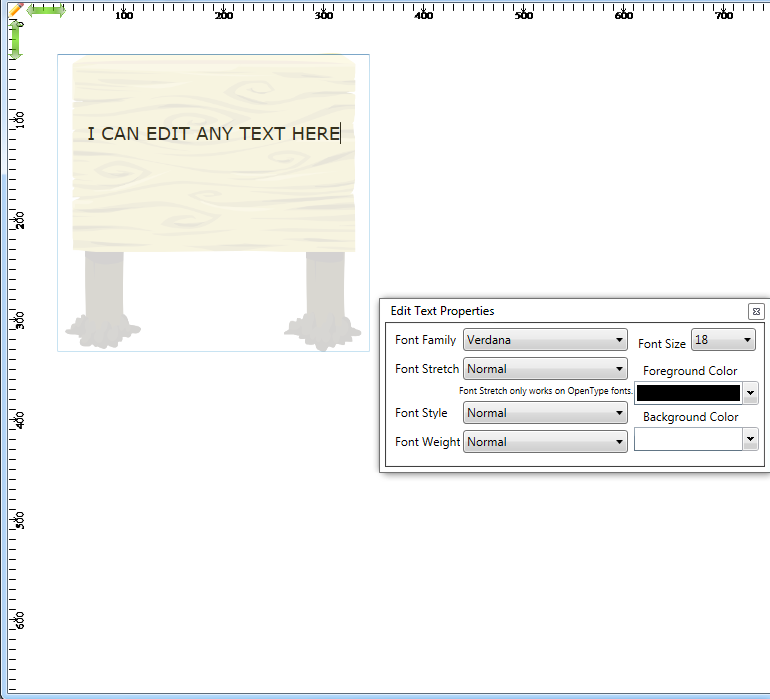
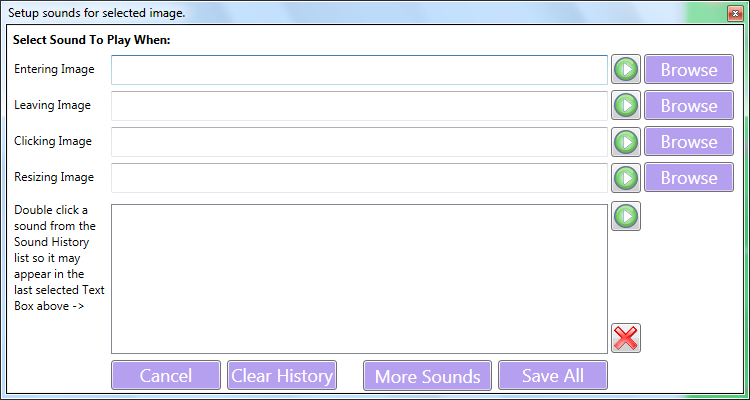
Attach text to an image.

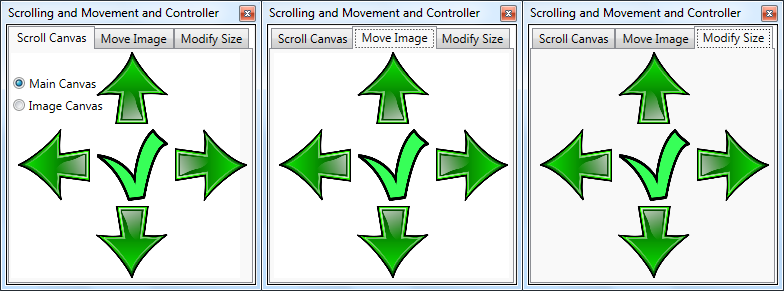
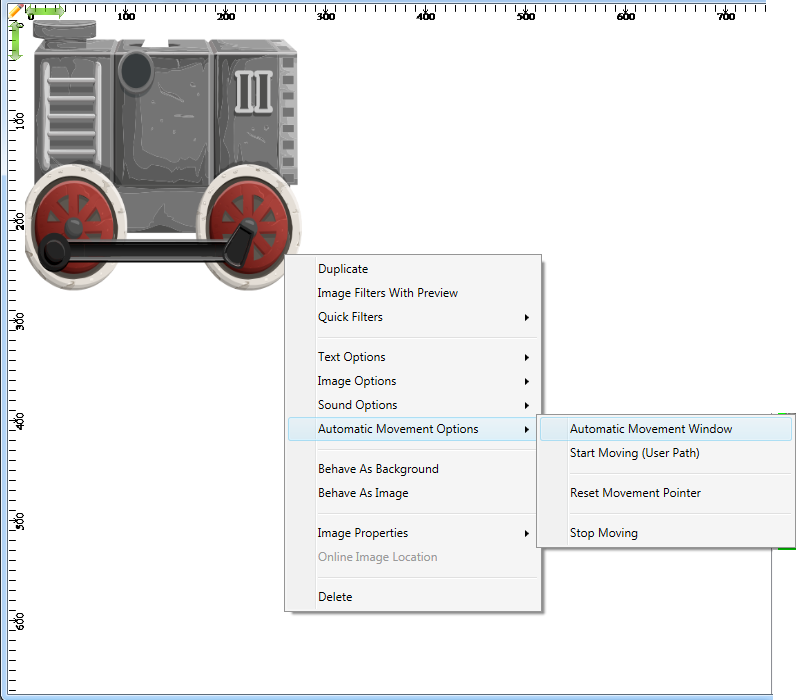
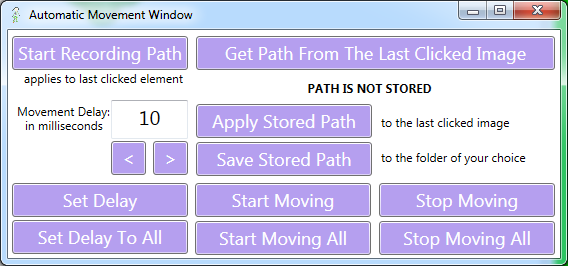
Record and play the movement, resizing and rotation of images.

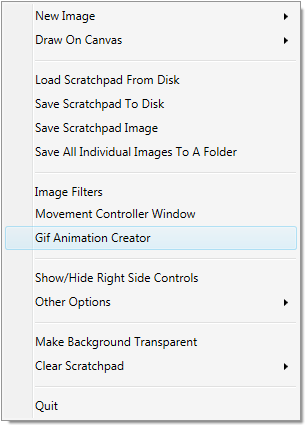
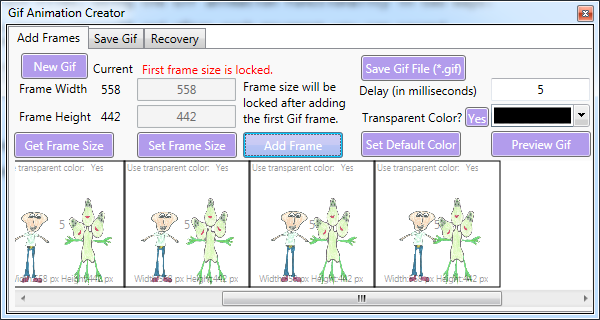
Create animated Gif files.

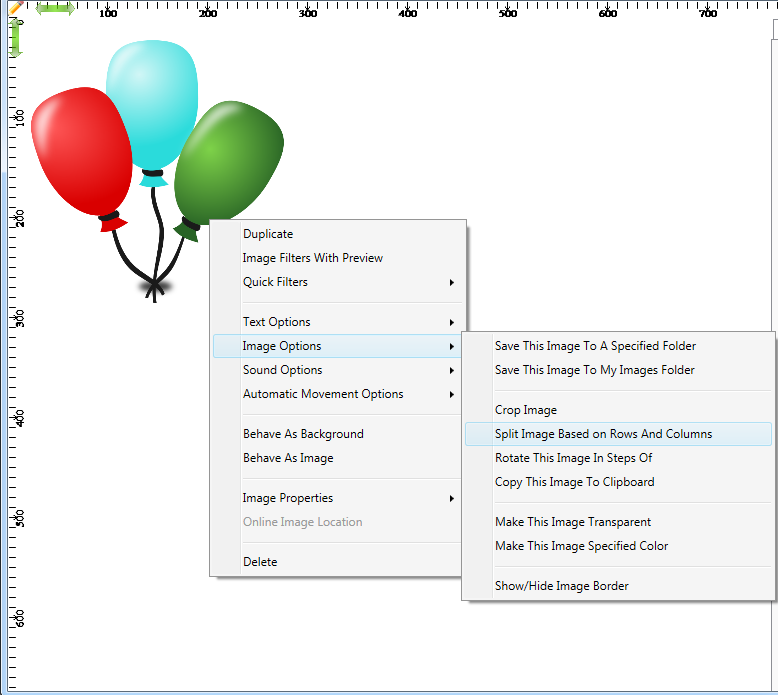
Split images based on rows and columns.

Quickly scroll the canvas to work on different parts of it.

Scratchpad For Images runs on Windows XP, Vista, 7, 8/8.1, 10 and 11 - both 32 and 64 bits
  • Scratchpad For Images can be downloaded using the Download link below
  • You may download the feature limited trial of the paid version, and evaluate the software for as long as you need
  • .Net Framework 4.0 required
  • The software is licensed per computer
  • Free lifetime upgrades
  • Free technical support via email
  • The registration code will be sent by e-mail after your purchase is confirmed
  • A license is only $19.90


Download the application using the link below:
Download Scratchpad For Images - Version 1.0


In a bit more detail:


   The images you see in the My tab (after you import images in that tab), are thumbnails of the actual images which are on the hard disk. When you click an image in the My tab, the actual higher size image is added to the canvas.

   The images you see in the My tab (after you import images in that tab), are thumbnails of the actual images which are on the hard disk. When you click an image in the My tab, the actual higher size image is added to the canvas.

    In the My tab you can store your own images.

    Using the Options tab you can access the application's settings. In this tab there is also a preview area where you can preview the entire canvas and there are also buttons to save/load the canvas to/from XML and save the canvas as an image file.

    To add an image from the My Tab to the canvas, you need to right click that image.

    Once an image is added to the canvas, you can do a variety of actions on that image like: drag, rotate, resize, filter, duplicate, see more below on how to do that. You can also right click the image to have access to more options.

Rotate, resize, duplicate, change opacity and drag images

    Click any image to add it to the canvas.

    You can rotate an image clockwise or counter-clockwise. To rotate the image counter-clockwise, keep pressing the Left SHIFT key and click the mouse. The more you click the image (while pressing Left SHIFT) the more it will rotate counter-clockwise. Each rotation is done in steps of 5 degrees. To rotate the image clockwise, keep pressing the Right SHIFT key and click the mouse. The more you click the image (while pressing Right SHIFT) the more it will rotate clockwise. Each rotation is done in steps of 5 degrees (this is the default) but you can change this number from the "Options" tab. When you have a picture and you rotate it manually in steps of 2, 3, 5 degrees, etc until a certain number for example 90 degrees and then you use the Quick Filters to rotate Horizontally (or Vertically) please notice that the application first rotates it Horizontally or Vertically depending on what you initially selected and then rotates it to 90 degrees.


    To resize an image, press any of the CTRL keys and click the image (keep the left mouse button clicked) and drag the mouse around. As you drag the mouse around (while keeping any of the CTRL keys pressed), the image will be resized. When you're done resizing, release the mouse.


    You can prevent an image from being deleted, resized, dragged or rotated, notice the image properties which can be accessed by right clicking an image and selecting Image Properties -> Enable/Disable Dragging, Enable/Disable Rotating, Enable/Disable Rotating, Enable/Disable Deletion from Key (Del)


    Notice the "Show Image Properties Window" in the image above. That option shows the Image Properties window in which the properties mentioned above (dragging, resizing, rotating, deletion from key) and other properties as well can be set, notice the two images below:


    To duplicate an image, right click that image and choose the "Duplicate" menu option from the context menu which shows up. Another way to duplicate an image is to double click it.


   To crop an image, right click that image once then select Image Options -> Crop Image. This will make the Multi Corners appear (if they aren't already visible) and a small floating window with the "Crop" button in it. You can then move the Multi Corners to match the portion of the image you want to crop and when you decided on the region you want to crop, you can press the Crop button in the floating window. When you're done cropping an image you can close the floating window and delete the Multi Corners. To delete them you can click on one of them and click the Delete key. Please notice that the crop functionality requires all controls to be entirely visible within the canvas. Notice the two images below, the first one shows how to activate the crop functionality and the second one shows it activated.


   To change the opacity of an image click that image once (so it may be the last clicked image) and press CTRL + Q to increase the opacity or press CTRL + A to decrease the opacity. The opacity is increased or decreased in steps of 5.


    To drag an image on the canvas, click that image (left mouse button) and drag it around. You can also click the image and use the arrow keys to move it around the canvas. Another way of moving an image is to use the movement controller window, see below.  

Movement Controller


    The Movement Controller window is used to scroll the main canvas in all directions (top, bottom, left, right) as well as to scroll the "My" tab containing the imported images. The "My" tab can only scroll up and down. It is also used to move the selected image on the canvas as well as to increase/decrease the width and height of the selected image. To bring up the Movement Controller window, right click the main canvas and select "Movement Controller Window".


  Make an image behave as a background image

    An image can behave as a normal image or as a background image. When an image behaves as a background image it will stay below the images which are set to behave as normal images. To specify how an image should behave, right click it and select one of the options "Behave as Background" or "Behave as Image".


  Filter images using image filters

You can filter images using the existing filters like: Grayscale, Sepia, Jitter, Water Wave, Blur, Invert, Oil Painting, Sharpen, Replace Channel, Switch Channel, Skew, Set Channel Value, Fish Eye, Pad Right, Pad Bottom, Rounded Corners, Mirror, Sobel Edge Detector, etc.
You can obtain beautiful filtered images if you combine several filters together: for example you could first use the Sobel Edge Detector filter on an image and then the Invert filter on that image.


  Filter images using default filters

    The application has a window which can be used to filter an image using a sequence of predefined/default filters. To filter an image using the default filters window, right click it and select "Image Filters". This will open the "Filter selected image" window with the selected image present at the top left of that window. Next, press the "Update Preview" button to filter the image. This will filter the image using the predefined filters and each filtered instance will be shown in the filters window. To see which filter is applied for a filtered instance, hover over that image. If you click a filtered instance in the filters window, then the image from that filtered instance will appear in the last clicked image on the canvas.


  Quick Filters

    To access the Quick Filters menu right click an image and click Quick Filters. These are options which apply to the last selected image on the canvas. These options are considered to be the most frequently used operations which can be performed on an image.


    Notice the option called "Duplicate And Remove Color Channels (All Possibilities)" which duplicates the selected image and removes color channels (red, green, blue, red and blue, red and green, green and blue) in the duplicated images. The duplicated images have a tooltip (text shown when hovering over the image) showing which channel was removed.

  Attach text to an image

    You can attach text to an image and specify how that text looks like. First right click the image, select "Text Options" and then the "Edit Text". This will show a text box over the image in which you can enter your desired text. The "Edit Text Properties" window will also appear, see second image below. When you're done editing the text for an image, press Escape. The text you wrote will appear over the image. To hide the text, right click the image, select "Text Options" and then select "Edit Text". Next time you select the "Edit Text" menu option for that image, the text you wrote will be visible again.

Please notice that if the Alpha channel of the background color is < 255 then the background color is rendered/considered when the image is in view mode but when Alpha is = 255 then the background color is NOT considered when the image is in view mode (in this case it is replaced with the Transparent color). The image is in "text editing" mode when the text can be edited/added over the image. The image is in "view mode" when there is no edit box to edit/add text over the image.


  Attach sound to an image

    You can attach a .WAV sound to an image. To do this, right click the image and select "Sound Options" and then "Setup Sounds". This will open the Sounds window in which you can attach a sound for the following events: when the mouse enters the image area, when it leaves the image area, when the image is clicked and when the image is resized. When a valid sound has been detected, it will be stored in the Sound History List which will allow you to easily use it later for other images in case you want to.


  Automatic Movement Window

You can record the movement, resizing and rotation of images and then let the images move automatically. To do this you can use the Automatic Movement Window which can be accessed right clicking an image and choosing the "Automatic Movement Option" -> "Automatic Movement Window" option. The application records the position (image movement), size (image resize) and angle (image rotation) of the selected image.


You can use the Automatic Movement functionality together with the Gif Animation Creator functionality to create animated Gif files:

  Gif Animation Creator You can create animated Gif files, using the Gif animation functionality in two ways:
- one way is to move the images yourself and after each movement you can record a gif frame using the "Add Frame" button.
- the other way is to use the Automatic Movement functionality to record the movement/resizing/rotation of images so they can play automatically during which time you use the Gif Animation Creator to record gif frames using the "Add Frame" button.
When creating the Gif file, you will use the Multicorners which appear automatically when the Gif animation functionality is started. Even if you remove the Multicorners, they can be easily brought back by starting a new Gif animation creator window or using the "Show Multi corners" button.


  The "My" Tab

The fourth tab is called "My" and is used to store your own images. It is grouped in folders called "1", "2", etc. You can click the name of the folder to open it with Windows Explorer. As you move between folders, the images are loaded automatically in that section but when the program starts, the images in the first section (the one which appears when you open the application) are not automatically loaded so in that case, you can use the "Load" button to load the images in that section.

Creating Silhouettes, Outlines and Line Art Images

Silhouettes

In Scratchpad For Images, these options (for Silhouettes) can be accessed via the following menu option (right click the canvas): Other Options -> Features of Other Apps Built -> Silhouette, Outline and Line Art Image Creator

 The easiest way is to get a silhouette from an image which consists of an object on a transparent background. To do this, right click the image, choose Quick Filters and then the Black Only (or Gray Only) menu option. That will fill all non transparent sections on that image with black (or gray), please see the two images below. If the image does not have transparent sections then the entire image will be filled with black (or gray), so this functionality should be called only for images which consists of an object on a transparent background, otherwise if you call it on an image which doesn't have any transparent sections, it will paint the entire image with black (or gray).


 The same thing (black and gray) can be accomplished using the "Fill Non Transparent Sections With Color" window, please see the image below:


 Besides getting black or gray silhouettes (filling the non transparent sections with black and gray) you can actually fill them in with any color you want, notice the Silhouette Creator (Fill Non Transparent Sections With Color) menu option in the above image. That menu option will open the "Fill Non Transparent Sections With Color" window which allows full manipulation of the color channels which will be filled with the selected slider value, please see image below. For example to get a red silhouette, you should fill all channels of the image (select the "Red and Green and Blue" radio button) with the value 0 (zero) and then fill the red channel with the value 255.


  This window allows applying the silhouette generation (filling the color channels with a value) for all images on the canvas automatically, notice the "Apply to all images in canvas" check box. Here is an example of how that could look like, please notice the image below:


  Another way to create a silhouette is to crop a specific section of an image from an existing image and then fill the cropped image with color or with another image or using the methods already mentioned above. To start the cropping process, you need to right click the image and select the Crop This Image (Select Sections On This Image) menu option and then you should also click on the Silhouette Creator (Fill Selected Sections With Color And Image) menu option. Please notice the image below to see how the cropping of an image works using these two mentioned windows:


 Once you got a silhouette, you can get the inverted image of that silhouette which means you will get an image with all the transparent pixels set to black and the non transparent pixels set to transparent. To get this image, use the Quick Filters -> Invert Pixel Transparency menu options which can be applied either to a single image or to all images on the canvas. Here is an example of how this functionality works:


Outlines and Line Art Images

The easiest way to get the outline of an image or transform that image into a line art image is to access the Outline and Get Line Art menu options under the Quick Filters menu option when you click on an image.

Another option is to use the Outline And Line Art Image Creator (Using Edge Detectors) menu option from clicking on the main canvas. That will open the "Create Outline and Line Art Images Using Edge Detectors" window which already contains the instructions on how to use it to create the outline of an image or transform an image into an outline.


Here are a few more examples of outline and line art images:

Add image borders (rectangular or rounded) and trim image borders

Padding images

In Scratchpad For Images, the border trimming, padding and rounding functionality can be accessed via the following menu option (right click the canvas):

Other Options -> Features of Other Apps Built -> Image Border Trimming, Padding and Rounding

 You can pad images either padding all image sides in the same time or padding each image side individually (one at a time).
To padd all sides in the same time, add an image on the canvas, right click that image and then choose the "Pad All Sides (Add Paddin On All Sides Of The Images)".


 The other padding menu options each opens a small window allowing the padding of all sides: top, left, right, bottom.


 Here are a few examples of padded images:


Rounding corners

  There are two types of rounded corners you can create for an image:
- outer rounded corners: you can cut a portion of the image using a resizable ellipse.
and
- inner rounded corners: the image does have normal external corners but it has a circle around it, the bigger the radius of the circle, the higher the inner image area that gets covered by the circle.

Outer rounded corners

To get these, right-click on the image, and select the "Crop This Image" window, that will open the "Crop Specific Image" menu option, select the "Ellipse" radio button in that window, click the "Start" button (which will turn into the "Stop" button) and click the image to add an ellipse, after adding the ellipse inside the image, you can click the "Stop" button (which will turn into the "Start" button). You can resize the ellipse normally to cut the image you want from the image which contains that ellipse.


Inner rounded corners


Border Trimming

Right-click the image and select the "Border Trimming (Trimms Image Borders)" menu option, that will open the "Border Trimming" window.
Using it you can delete the borders of images as following:
- borders which are transparent on all image sides
- borders which have the same color on all image sides (here you only specify from which corner to take the color): 0/0 (x=0/y=0) or 0/Max (x=0/y=Max) or Max/0 (x=Max/y=0) or Max/Max (x=Max/y=0)
- borders which have a specific color on any side

  Quickly scroll the canvas to work on different parts of it

To quickly scroll the canvas you have two options.

 The first option is to move your mouse toward the edges of the application's window and continue to move the mouse in that area. As you continue to move the mouse the canvas will scroll revealing more content.

The second option to quick scroll the canvas is to use the arrow keys.   Shortcuts for different actions

To move an image: click on that image and then use the W, S, A, D keys.

To resize an image:  CTRL + Mouse Click and start dragging the mouse around.

To rotate an image counter-clockwise: Left Shift + Mouse Click. The image will be rotated each time in steps of 5 degrees.

To rotate an image clockwise: Right Shift + Mouse Click. The image will be rotated each time in steps of 5 degrees.

To delete an image: click it and press the Delete key.

Use the arrow keys to move around the canvas. The canvas needs to be clicked first to receive focus.

To duplicate an image: Left CTRL + D or Right CTRL + D.

To increase the opacity of an image: Left CTRL + Q. The opacity is increased in steps of 5.

To decrease the opacity of an image: Left CTRL + A. The opacity is decreased in steps of 5.

To cycle through the default filters (the ones from the "Filter Image With Preview" option): press Left CTRL + F or Right CTRL + F.

To activate Edit Mode for an image: click that image and press Left CTRL + T.

Saving the canvas: press CTRL + S and you will be asked to choose a location/folder (and the filename) where to save the canvas. Pressing CTRL + S a second time will save the canvas in the already chosen location. When the canvas is cleared of all objects (when the Clear Scratchpad -> Clear Scratchpad option is selected), the location is also erased from memory (not from disk). To save the canvas to a different location, use CTRL + SHIFT + S (this is Save As functionality).This will not overwite the initial location for the canvas. To save the projects in the Drafts folder you can press LEFT CTRL + RIGHT CTRL + S. To open the Drafts folder: right click the main canvas, choose Other Options -> For Folders -> Open Drafts Folder

To change the scale of the selected image, press CTRL + [ to decrease the scale and CTRL + ] to increase the scale. To reset the scale to 1 press CTRL + \ The minimum scale is 1.0. To bring an image size to its original width/height press CTRL + Enter.

  Useful functionalities for handling images

At times you may want to see the borders of all images or to bring all images which are outside of the canvas borders into the canvas borders. To do this, right click the canvas, choose Other Options -> For Images -> Show/Hide All Image Borders and Other Options -> For Images -> Bring All Images Inside Main Canvas Borders


You can split an image into smaller images by specifying a number of rows and columns. To do this, right click and image and choose Image Options -> Split Image Based on Rows and Columns


You can rotate an image automatically in selected steps (you choose a number of degrees as the steps) by specifying a number of rows and columns. To do this, right click an image and choose Image Options -> Rotate This Image In Steps Of


Important things to know


1. In order for the application to function correctly, please ensure that you have installed the correct version for your system. If your system is a 32 bit system then please install the 32 bit version of the application. If your system is a 64 bit system then please install the 64 bit version of the application.

2. The application uses GDI+ which affects the maximum size of the images you can use in the application.

3. When the canvas is smaller than the screen (for example the canvas has 200 pixels/200 pixels when the screen is 1024/768), and if the canvas has a Transparent background, to see its boundaries you can temporarily choose a non transparent color for the background and then when you're done working on the canvas, you can set the color back to Transparent.

4. Drawing is guaranteed inside the main canvas.

5. The output formats you can use to save an image are: PNG, WMF, TIFF, MEMORYBMP, EXIF, EMF, BMP and JPG.